
Using Inspec to test Azure resources
How to use InSpec to ensure Azure resources are deployed properly. InSpec announced a while back that you can now run tests against Azure infrastructure and I’ve finally got around to trying it out.
I have used InSpec in the past, but always in conjunction with Chef cookbooks. In this article, I will walk you through how to I got started with InSpec-azure (no Chef in here!).
Preliminary Setup
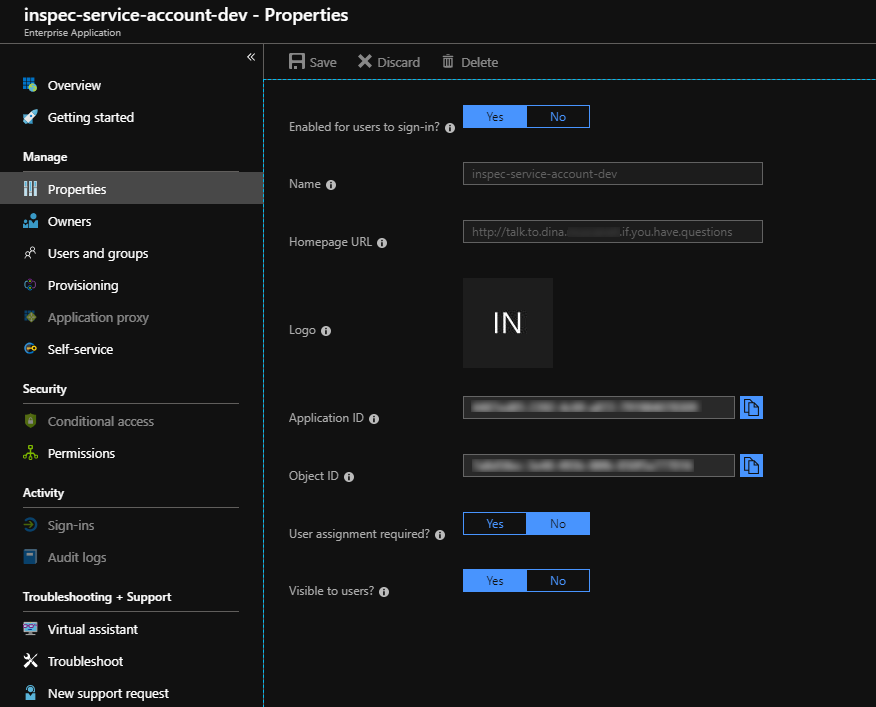
Unless you have an existing Azure service principal account you want to use, you’ll need to create one to run your InSpec tests first.
I followed the instructions on the Github page to set up my service principal: here
If you are creating a new service principal account, the homepage URL doesn’t matter…you can put whatever https://probably.no.one.reads.this.blog.com since we aren’t using the service principal for authenticating into another system.
The same with generating the client secret (password), type whatever you’d like but from that, Azure will give you a newly generated client secret, ensure you copy it and save it somewhere, you won’t see it ever again! Here is what mine looks like once created:
Then you must add the service principal account as a contributor on the subscription. This is nicely documented in the InSpec-Azure Github page linked above.
Before we start to write any tests, we also need to perform local configuration. There are two different ways I tested, I was successful with each, both described under Azure Platform Support:
here
If you’ve previously done any sort of service principal authentication with Chef or other platforms, you probably already have the credentials file located in your users folder, .azure. Just add the subscription and service principal account identifiers.
I did have issues when I put double quotes around my client id, client secret and tenant id as shown in the InSpec doc example. Once I removed the quotes, it worked fine.
If you are creating .azure folder and credentials file for the first time:
- Create the .azure folder from the command line:
cd ~; mkdir .azure
Do not save a file extension on the credentials file.
If you edit it in notepad++, ensure you scroll up to the top and choose “all types” as shown below:
The second method I tried was just straight up environment variables. Hats off again to the folks that do documentation at InSpec, we have clear documentation here!
If you hate using the native environment variable editor in windows, I use Rapid Environment Editor (link), just ensure to open it as an Administrator. It is super easy to see and edit all environment variables!
Deploy Azure Resources
You will need Azure resources to run the InSpec tests for the next section. If you have a repo where you deploy ARM templates, you can use that or if you are completely starting from scratch, you can go into the Azure portal and just deploy a VM.
To deploy a VM from the azure portal, select Create a resource from the upper left. I try to use cheap machines for windows examples, so I search for [smalldisk] Windows. Any of these options will work.
Disclaimer: I have only tested against Windows machines :)
Now I’ve got my “house keeping” done, time for the real fun. I am assuming at this point you have InSpec downloaded locally, if not, you can grab it here. While writing this tutorial I am running on InSpec 2.2.112 but the most recent package is 3.0.9
The PSL of InSpec
This example is going to be very basic…it is fall time, it is the basic of InSpec tests for Azure, I hope you like Pumpkin Spice Lattes!
I went to a directory where I have code to deploy my azure resources and at the root of the directory, just run the command to create your InSpec profile:
inspec init profile azure-demo-profile in my case.
This will create a folder structure for you. In the InSpec.yml, ensure you have a depends on InSpec-azure. This is a resource pack we are importing.
You can create custom resource packs which have resources and run tests, for the InSpec-azure resource pack, we are only importing the azure resources. This allows us to reference these resources in our tests. This import may not be necessary if you are running a more recent version of Inspec.
Now all the resources listed for azure-resources are my disposal.
Let’s keep it simple for our first test. Let’s make sure my virtual machine has a password, managed disks, a nic and it is of type virtual machine.
The group_name is referencing the resource group name, while name is referencing the name of the resource, in this case my VM name.
Everyone deploys their resources differently, in my case, I am using a deploy.ps1 (as mentioned in the 2018 State of the DevOps report).
My deploy.ps1 will now run my azure deployment, and also my InSpec tests. Right after my deploy, I am running my tests, they all came back green, woot!
Well, that was interesting and all, but how can I actually use it…?
One example from the demo in this post that relates back to my current organization, they are trying to ensure everyone uses managed disks in Azure. Well, here as a dev I can locally run this InSpec test that will fail if I don’t have a managed disk, I could also run InSpec tests during CI/CD.
Application Of InSpec-Azure At A Larger Scale
How could this help me and my organization?
Do you have a security or compliance cloud team in your organization? At many places I’ve worked Security is always behind the ball. You’ve already deployed your resources and ready to go to production or already in production when the security red flashing lights start to go off.
These teams could start to shift left if they put these tests into code, specifically InSpec tests to for all of that ‘no-no’ behavior. This would effectively allow for security tests to run in each team’s or products CI/CD process.
I am not saying this is an easy thing to implement, it will still take time and practice for it to become second nature.
A Security team may want to create a custom resource pack which teams then import on the local inspec.yml file (i.e. becoming a consumer of the security tests, allowing teams to pull the latest test), an attributes file would also need to be generated to pass in things like resource group and the name of the resource itself (the VM name in the case of our demo).
If you are even more sophisticated, instead of having inspec.yml files in each repo, you can build a library or module to grab and run them in your CI/CD.